How-to Create DVIR
Step-by-step guide
Here are 3 Main ways the driver is able to Add a DVIR (Driver Vehicle Inspection Report) on his unit:
- When a driver selects “Off-Duty or Sleeper Berth > End of Shift” It will bring up a notification asking if the driver would like to enter a DVIR
- When a driver selects “On-Duty > Inspection > Post-Trip” It will bring up a notification asking if the driver would like to enter a DVIR
- The driver is able to Add a DVIR at any time by opening HOS and selecting “Options > DVIR > Add DVIR.”
Add a new On-Duty status and press “Submit”
Go to the Options tab and select DVIR

Touch Add DVIR

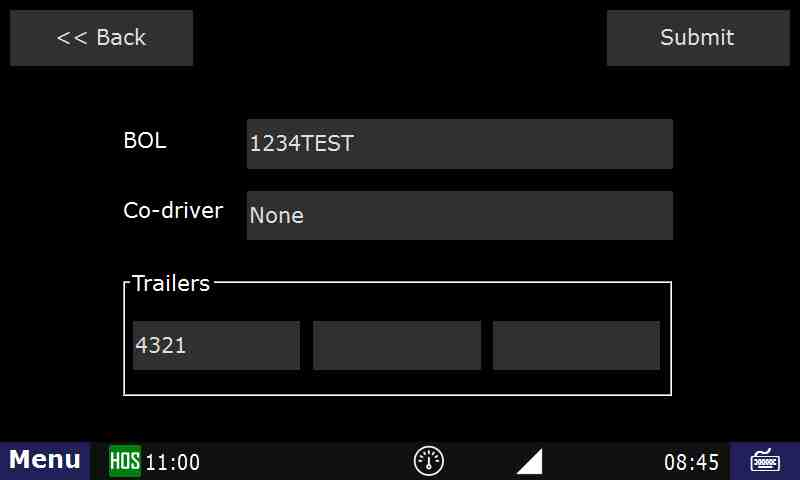
Enter a trailer number if necessary, then Submit
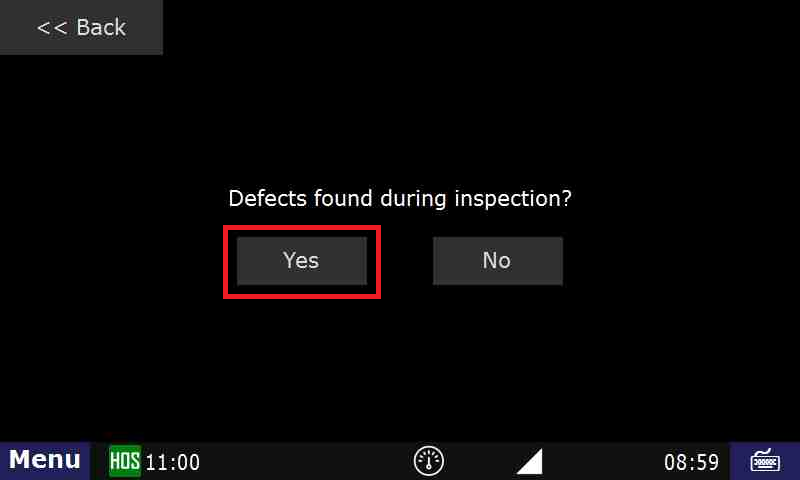
When you start a DVIR, it will ask if any defects were found during the inspection. If so, press “Yes”
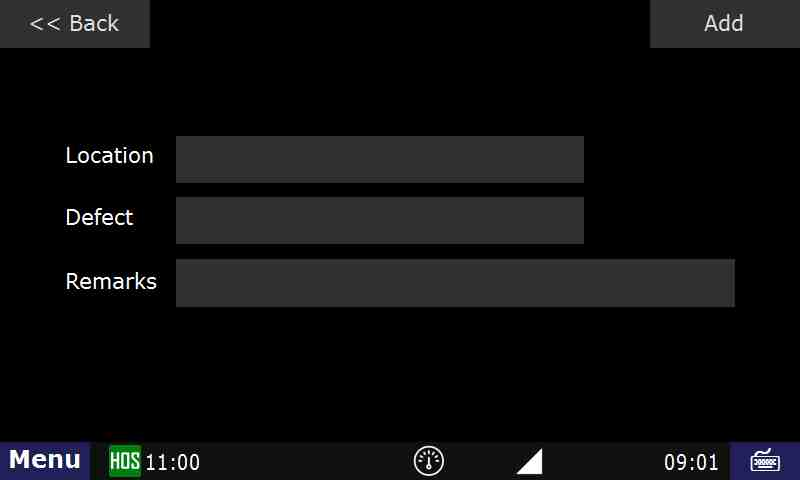
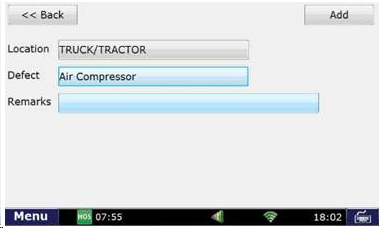
This step will ask you where the defect is located, and a description of the defect itself. You can also add additional remarks about the defect
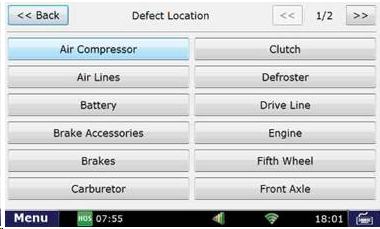
After choosing “Location”, select where the defect is located. Here we will be selecting “TRUCK/TRACTOR”

Select the option that most accurately describes the defect. Here we will be selecting “Air Compressor”
If there are any additional remarks you would like to provide regarding the defect, add them in the “Remarks” Section
Here we will be adding the additional remark stating, “Air Compressor will not turn on.”
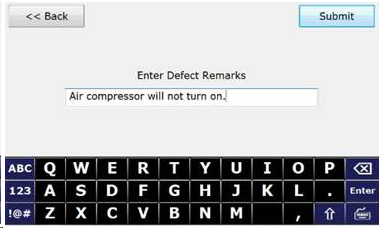
After you have completed these, press “Add” in the top right corner to add the defect to the DVIR

If there are any additional defects, select “Yes” and repeat the same process until all defects are added to the DVIR

Once all defects are added to the DVIR and you select “No” in the above step, you will then have a DVIR button on your status to review the DVIR you just added. Press “Submit” in the top right corner to add this current “On-Duty Post-trip” status with the DVIR
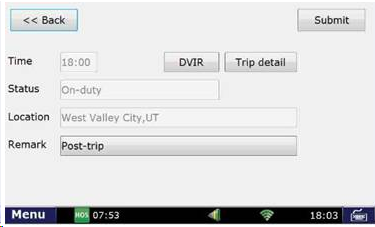
After you press “Submit”, you will then be able to view the status and DVIR in the “List” tab for the current day’s log

Related articles